Before we talk specifically about the insides of particular toy robots lets talk about the process of dismantling a toy in general first.
Modern toy robots made in the last 40 years will have been made of plastic and held together with a handful of bolts or screws and possibly glue (rarely).
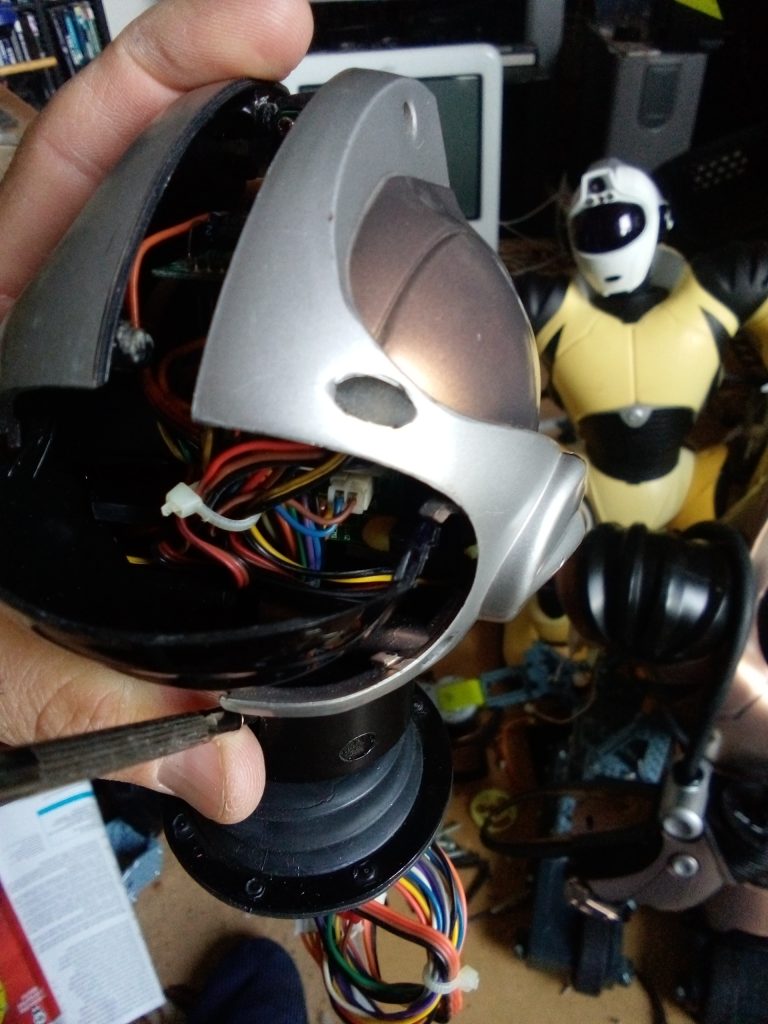
So just like the skills used by watchmakers and any repair technician you must be careful to remember or take photos of the dismantling process so you can put the toy back together again properly if that is your goal.
Most toys seem to use phillips (star shaped) screws or bolts and usually will be under any clothing.
Your first step before taking apart a specific toy should be to look on google or youtube for photos and videos of someone taking one apart. There are a limited number of photos on this site of the actual process of dismantling each toy because it can take alot of time.
But the body may come apart first with a long screwdriver that can reach a few inches into the plastic of the toy.
Make sure the grip of the screw is strong first before you start to turn because you could strip the screw and then have to break the plastic to get the toy apart.
Once you feel the initial turn of the loosened screw you simply turn until the screw comes out (turn it upside down and don’t lose the screws).
Put the screws in bottles and generally the screws will be the same size throughout but not necessarily.
Go slowly because just like when taking apart a watch or cuckoo clock, the speacker or some parts can fall out and you may not know how to put them back in the toy.
Arms and legs often will drop out especially if they don’t have wiring. Its easy for a heavy part like the head to drop and break off any wiring that may be attached somewhere on the toy.
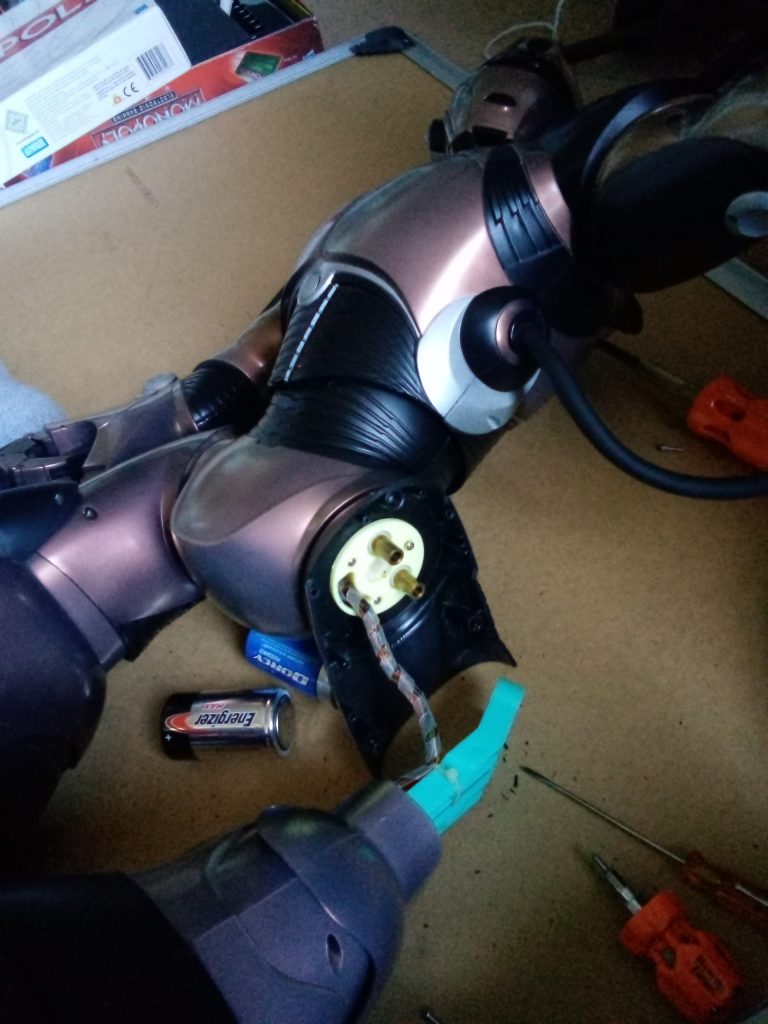
Usually you should take out the batteries before you start but it is quite fun to see a toy still work when it is half way apart. If you had a plug in the wall toy ALWAYS UNPLUG IT FIRST before you work on it. You could die if you get a shock…although it is rare unless you have a toy which stores a high charge in the capacitor (televisions in the old days 1980s could kill you for minutes after you unplugged them because the power was stored in the capacitors or the flyback transformer)
Now in some cases when you want to quickly open a toy or you want to modify it then you could use tools like a dremel (a plug in or battery powered craft cutting tool $60) or a hand held manual jigsaw or a power reciprocating saw to cut through plastic.
We cut apart a 1980s Robotix 5000 with an electric reciprocating saw because the tool to separate the pieces was not working. Old toys will usually be very brittle and its easy to crack several pieces with the vibration from a power one speed reciprocating saw.
You could cool the plastic as it is being cut because often it will start to melt and if you don’t separate the pieces quickly they will seal together worse then they were before you started to cut them.
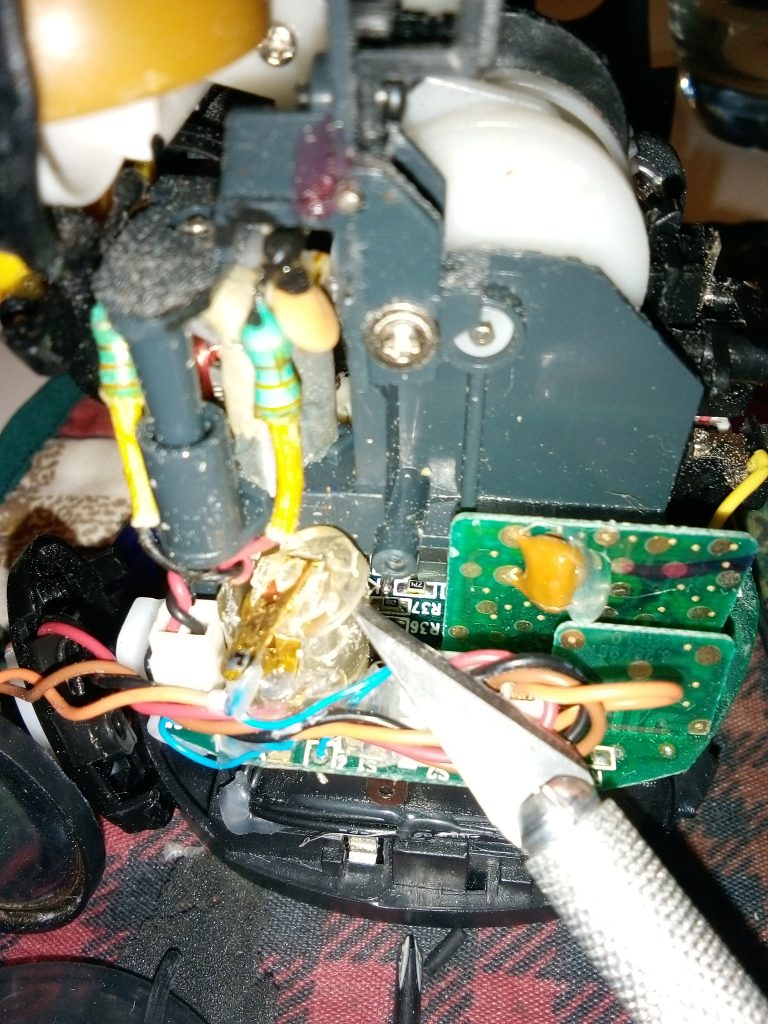
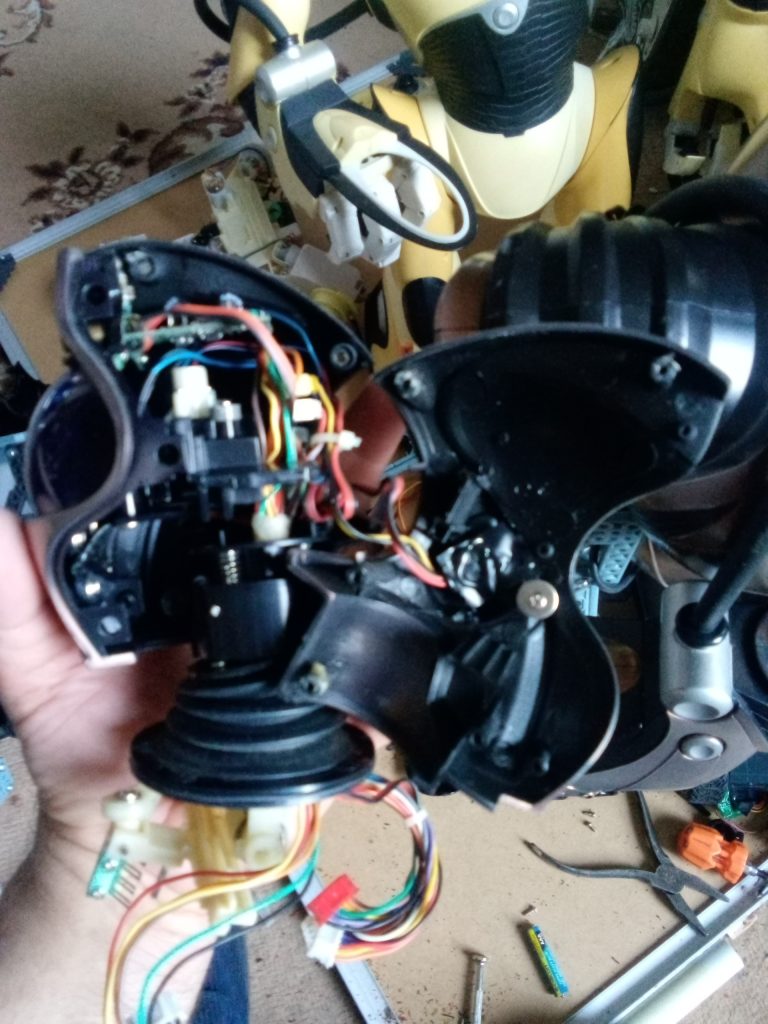
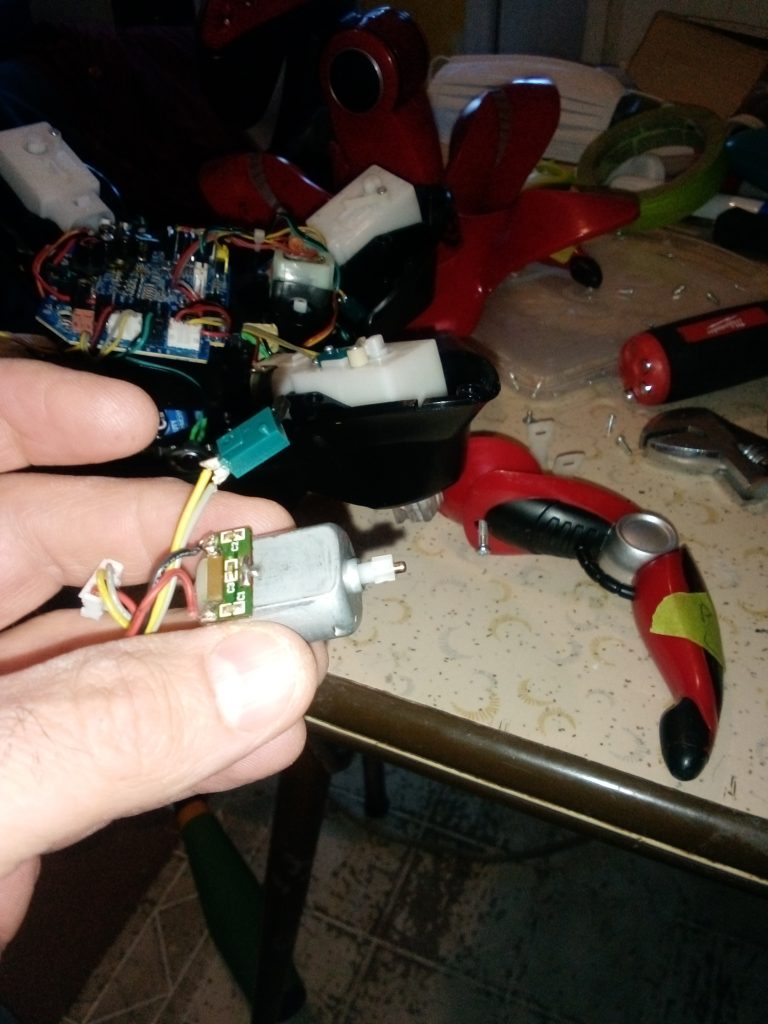
Now wires in a toy are either soldered or soldered and some glue may be added on top to keep it secure or to hide some of the details of how it works from toy hackers.
But wires are very easy to accidently detach from their sources and you may have to know how to solder so you can reattach them.
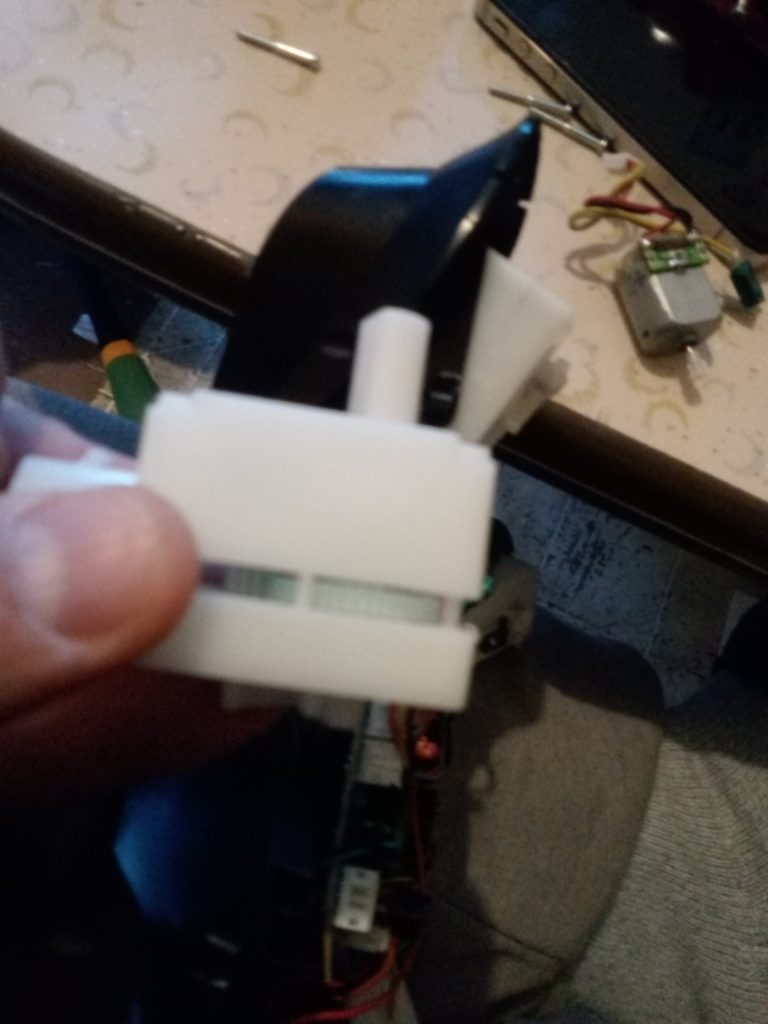
If you need to unplug wiring harnesses small or large you must notice the clips on them and how you may need to use your fingers or a tool to compress them enough so that they come out.
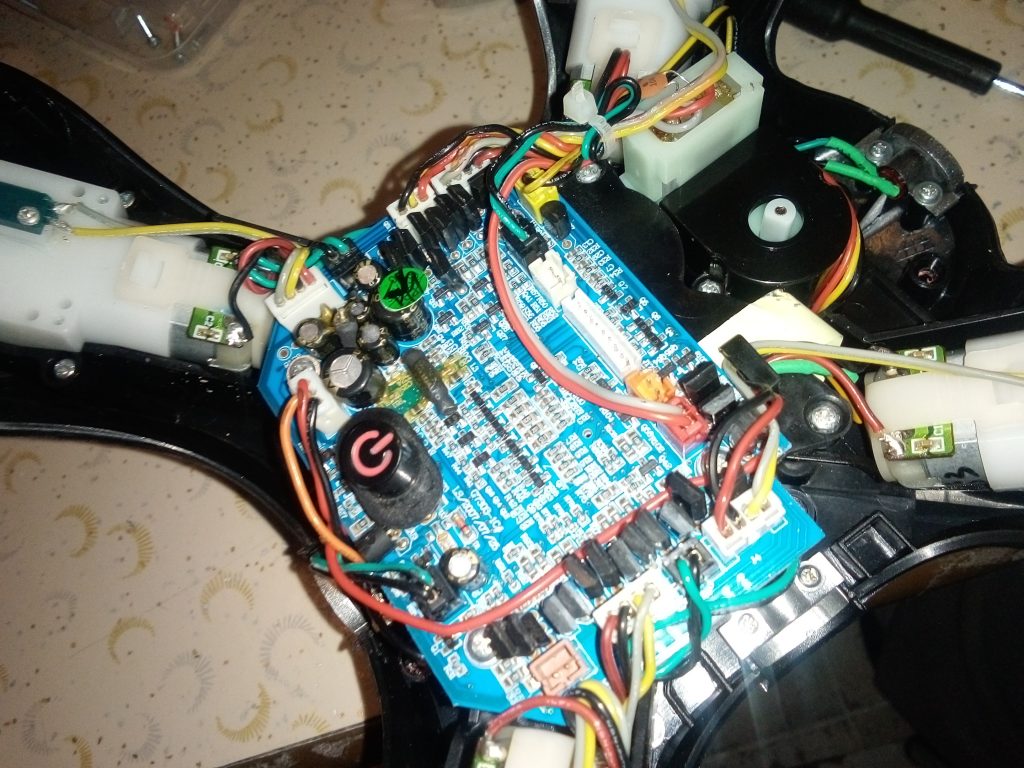
You can look at the toy once it is dissassembled and see if there are any signs of worn out wires or burn marks or loose speaker wires.
The Robosapien VS2 is so old that in many units you will see that the wiring is almost totally disintegrated and falling off despite the fact that the toy may still work normally.
lets look inside a furby

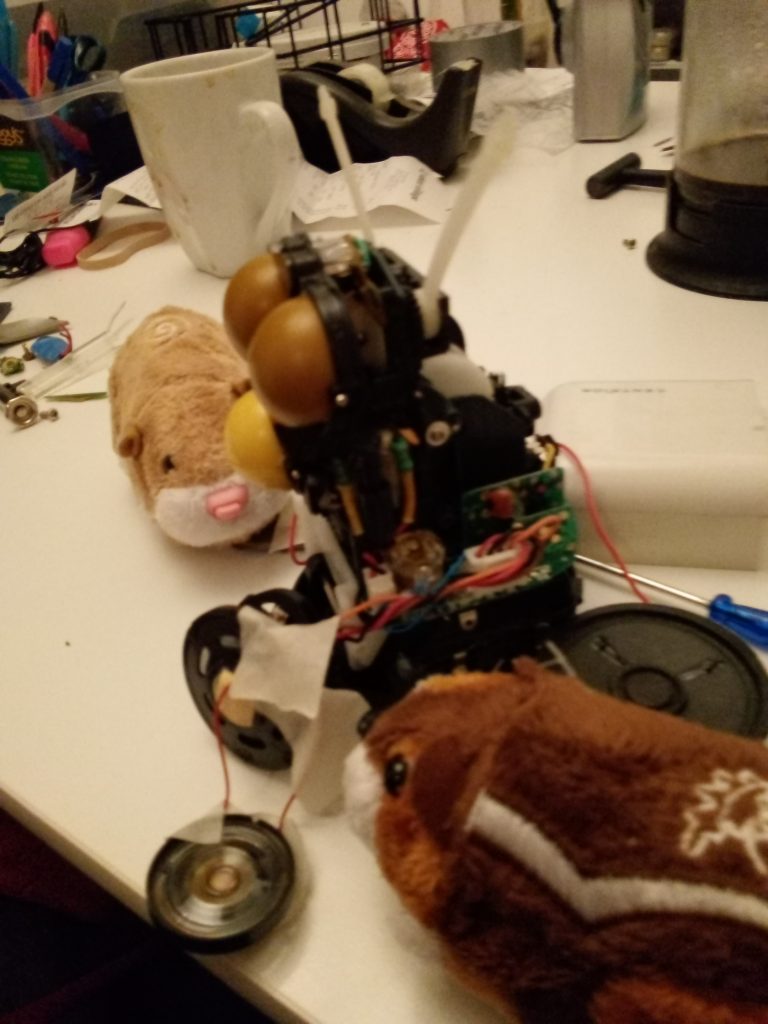
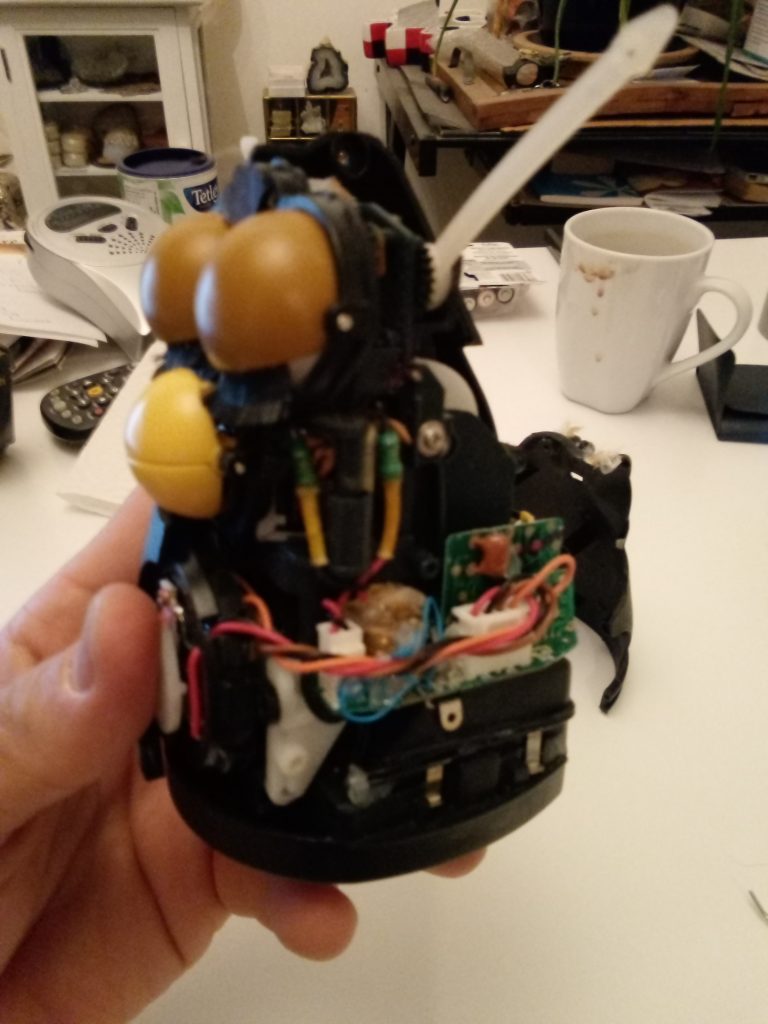

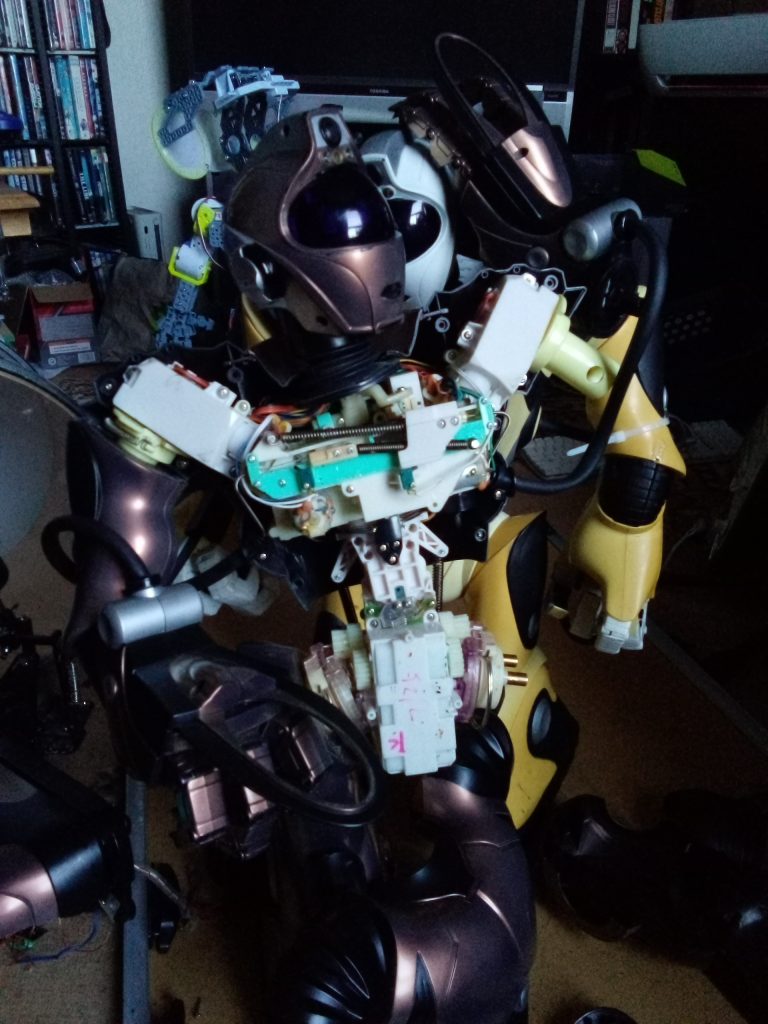
Let’s now look at the inside of a few 1990’s robosapiens from the amazing Wowwee toy company. We will explain what we are seeing later.
ROBOSPIEN Cut open:
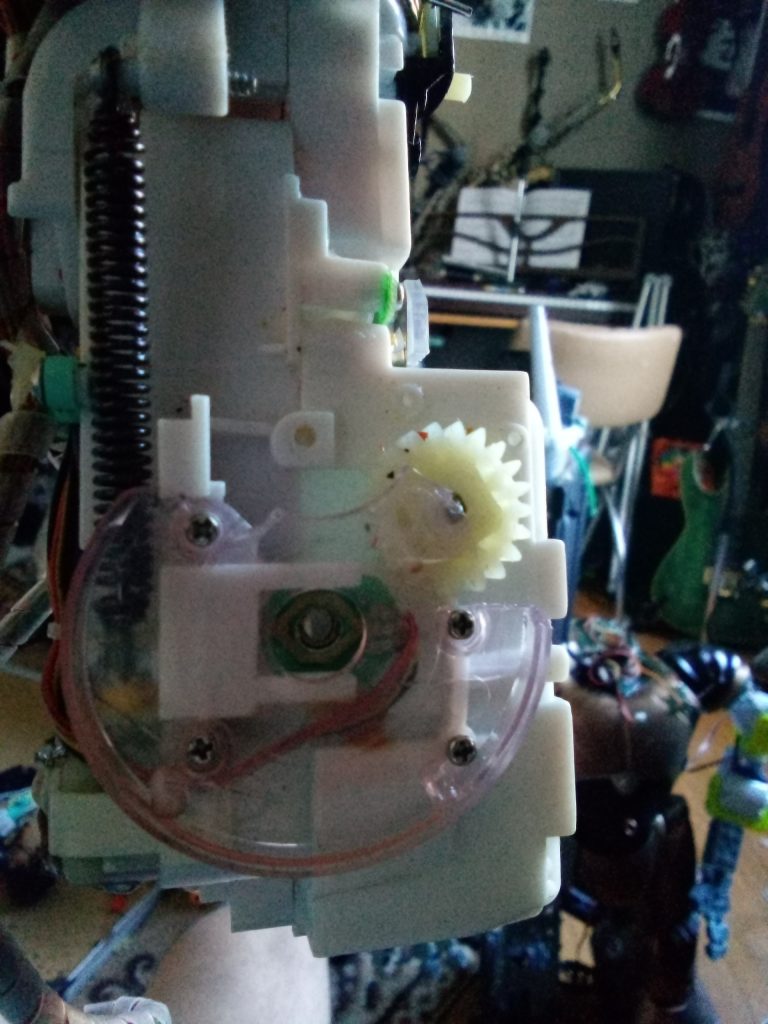
The original Robosapien has 67 pre-programmed instructions and is built in an old school analog way with 24 transistors.
There are no servos and no microprocessors in it.
All the motor axes all rotate
It has a motor in both shoulders, one in both elbows, only one in each leg, and one at the waist.
The two long fingers on each hand has the touch sensors that make the robot go back when it touches a wall. There are also one each on the front and back of each foot.
It has two simple red Led lights where the eyes are. It has a microphone for a sound sensor on the chest plate.
A few hacker sites say that it uses Atmel CPU control circuit board
The 2004 model had 6 touch sensors, 7 motors and 1 audio sensor
The Robosapien V2 (RSV2) had 13 motors and 1400 components
The Robosapien RS media was a linux based robot.
-It is a linux ARM .
2008 Femosapien – 5 motors, 6 battery, has 14 controls?
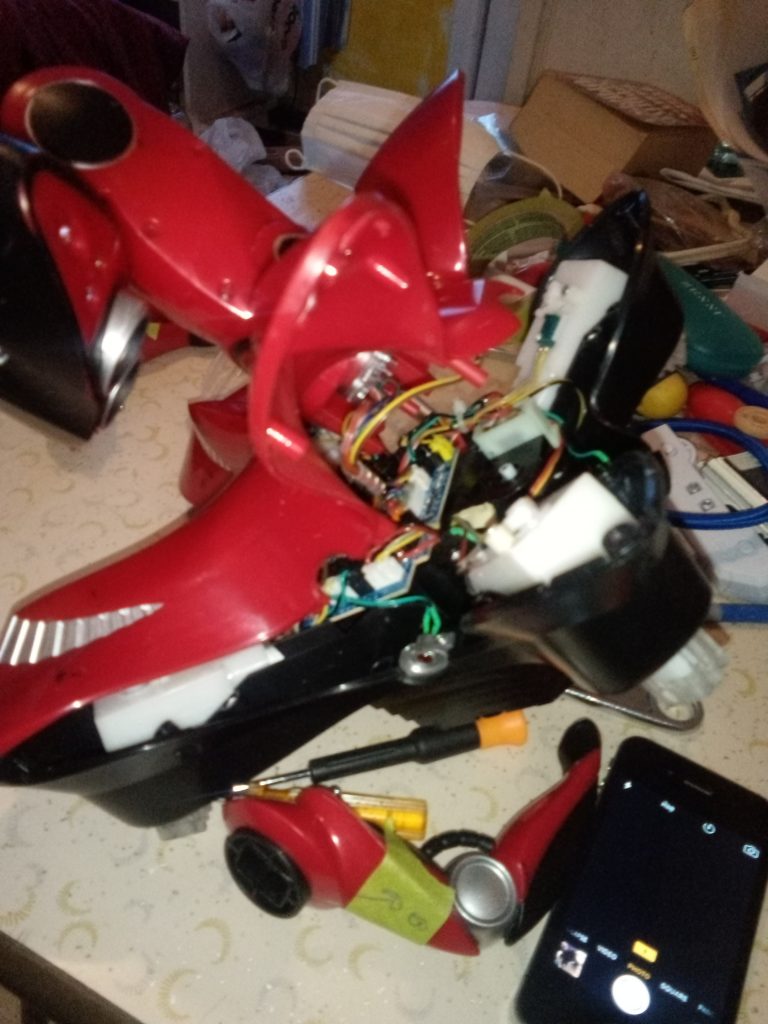
ROBOQUAD Cut Open
This crab looking robot by Mark Tilden of Wowwee Toys was made or inspired by the Mars space land robot that Mark was working on while at the JPL.
It can go back and forth and sideways like a crab and it snaps its long tall head with eye cameras back and forth when it hears a sound and moves back when it comes to a wal.
It is built with 72 preprogrammed functions and of course has a remote control and a demo mode.
40 programmable moves loo
What does it have inside
4 leg motors and 4 position sensors on each leg
2 360 degree head and neck dc motors
2 infrared vision eyes
1 mike and 1 IR control and 1 light sensor
It has almost a form of AI with its personalities. When it gets flustered or angers it will react by wandering around faster and more agressively.
It has an angry mixed with cute look to start with.
A very common repair problem with these units is in one or some of the leg motors and position sensors.

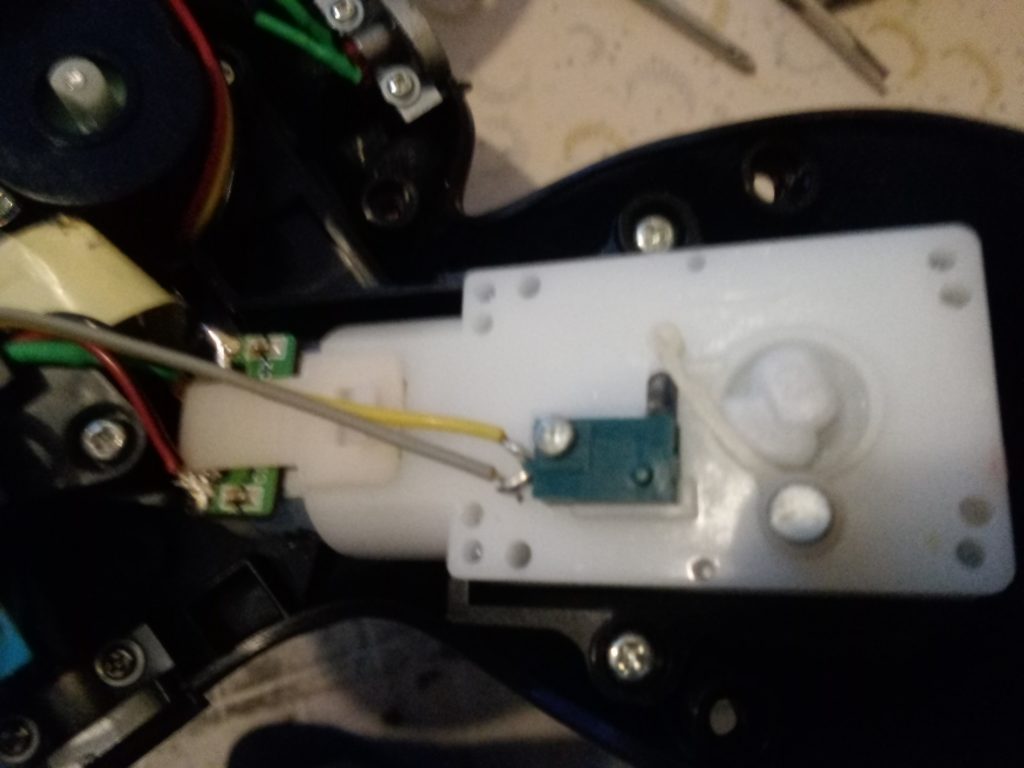
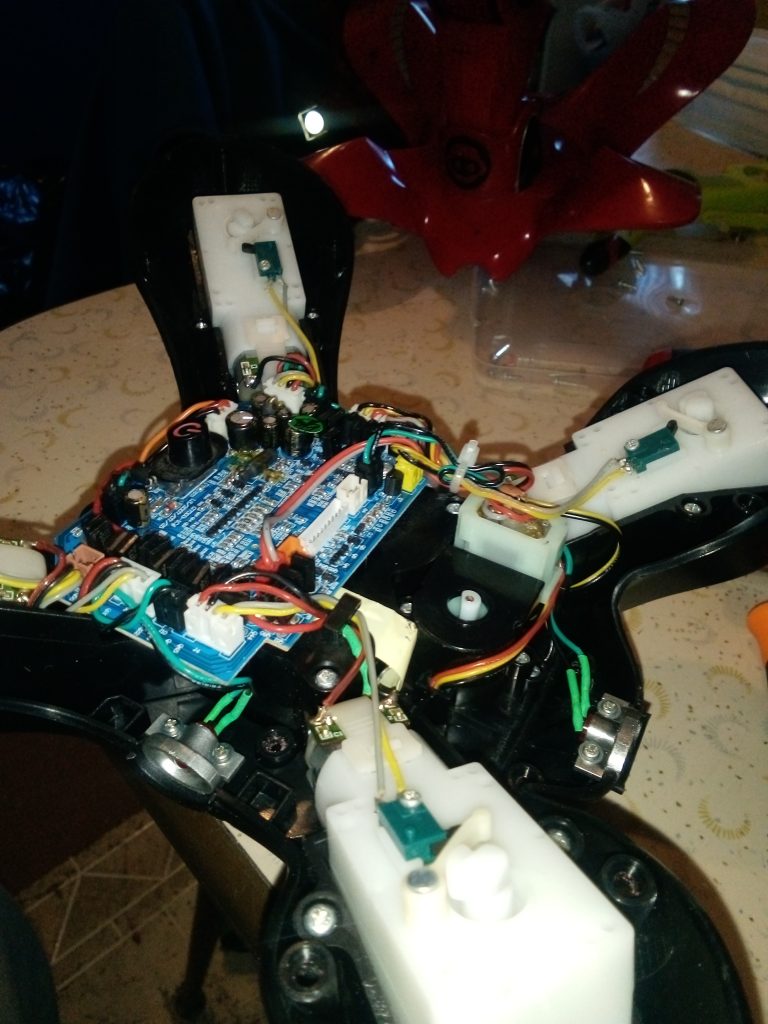
There are an incredibly large number of screws to take apart to get a motor out but once you do, you will feel proud of yourself and will then have the option of replacing the motor or getting a whole leg.